You are hereForums / By Discipline / Mountain (off road) / MTB Gear / Help with replacing chainring
Help with replacing chainring
Hi guys,
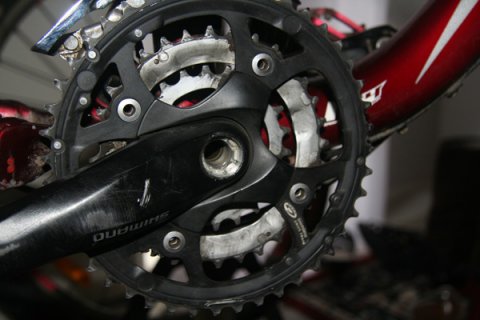
I have a noob question about changing chainrings. Basically, how the heck do I do it! I have a copy of Zinn which hasn't help much. I want to replace the granny chainring. The crankset I have is a Shimano FC-M442-8, Octalink Spline. Do I need to take the whole crank off before I can get to the chainring? Or can I leave the crank arm on and slip the rings over it?
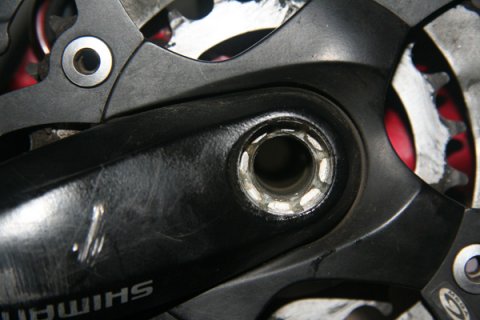
So far all I have managed is to take the bolt off the crank which is pretty pitiful! (see pic). I haven't tried undoing the chainring bolts.
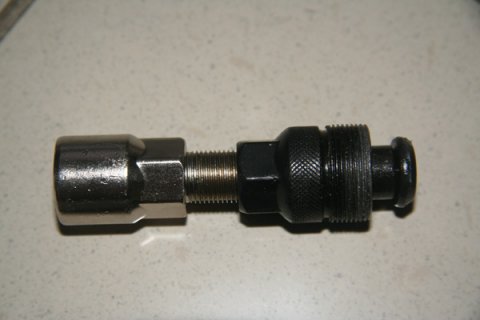
And I am guessing I need to use the tool pictured only I don't have a clue how to use it properly?
So any direction would be greatly appreciated!!!!
- Login to post comments
- Bookmark & share


You'll need to remove the arm from the BB spindle.
Make sure you have the button adapter to fit into the hollow end of the spindle before using the crank arm removing tool. If you neglect this you can damage the threads irrepairably.
Be sure to have the large threaded section fully screwed into the arm before putting pressure on the push rod screw.
Once you have the arm off it should be pretty self explanatory.
On assembly I make sure to grease the ring bolts to prevent creaking......
This is for an ISIS bottom bracket, but the principle is the same.
As already said, just make sure the diameter on the centre section sits fully on the face of the end of the bottom bracket spindle and does not go into the threaded interior of the spindle. Then you should be good!
http://youtu.be/J6Bv70B545U
Hi guys. What I did was wind out the sliver section, then screw the black portion into the crank arm. Then I screwed the silver section back in to the point til it hit resistance. That's where I stopped. Didn't have guts to keep going. So should i have kept screwing the sliver section in? No guts no glory?
So with the button bit on the tool, it seems to sit against the inner hole but not into the hole. Does that sound right?If I take the button off, the silver section of the tool screw right into the hole.
Also can I just undo the drive side crank or do I need to remove both sides?
I managed to remove the smallest chainring without removing the cranks from the bottom bracket, just remove the outer and middle chainrings by undoing the silver bolts. Your crankset might be different but you should be able to wiggle the inner chainring through those spider arms.
If that doesn't work then remove the crankset
It sounds like the button was doing the right job and stopping against the face of the arm rather than in the threaded section.
Just start gently cranking on the silver bit and it should pop right off. If you are tentative and unsure, it's a bit hard to give an objective description of how it will feel when everything is working right. The arm will/should be tight. I'd describe the force required to break the joint apart as a really tight squeeze of the crank arm to the spanner with your hand hard up against the pedal spindle.
If you feel like a strong man with straining muscles trying to push the two levers together, then it's probably worth stopping and checking again.
If you can, try putting the button in place and checking that it completely covers the hole in the spindle, but doesn't cover the splines at all. That way you know it is sitting right and should work.
If the arm hasn't been off in a few years, and it wont come off with moderate force, it may be worth a squirt of penetrating oil.